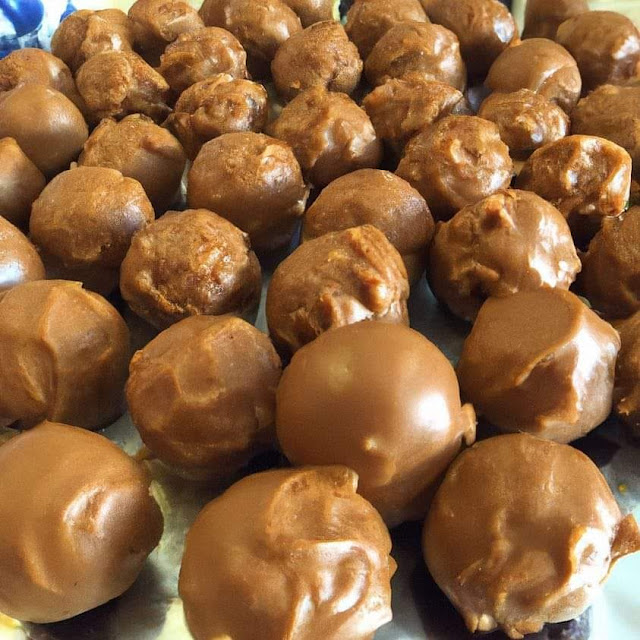
Ingredients
▢1⅓ cup creamy peanut butter
▢½ cup salted butter softened
▢1 teaspoons vanilla extract
▢2 cups powdered sugar
▢1½ cups Butterfinger Bits plus more for topping (optional)
▢3 cups chocolate melting wafers
How To Make Butterfinger Balls
Add the peanut butter, butter, and vanilla to a large bowl or stand mixer and cream together for 30 seconds.
Sift the powdered sugar into the bowl and beat until smooth.
Mix in the butterfinger bits until incorporated.
Chill the mixture in the refrigerator for 30 minutes.
Line a cookie sheet with parchment paper and portion the peanut butter mixture out with a medium cookie scoop and roll into balls. Place them on the cookie sheet and chill in the freezer for 20 to 30 minutes.
Just before removing the balls from the freezer, melt the chocolate melting wafers in a wide glass on 30-second intervals, stirring between each, until fully melted.
Use a fork or dipping tool to dip them in the melted chocolate then place them back on the parchment paper.
Sprinkle the tops of the balls with Butterfinger Bits and allow them to set until the chocolate hardens.
Note:
Store in an airtight container in the refrigerator for up to 7 days or freeze in a freezer bag for up to 3 months.
Jif creamy peanut butter was used in this recipe and I have never tested it with all-natural peanut butter.
Chocolate chips may be used in place of the melting wafers. Add ½ teaspoon of coconut oil to every cup of chocolate chips for smoothness.
There will be excess chocolate remaining since you need to be able to dip these balls almost fully without covering the tops, so you need the chocolate to be deep enough at all times for the balls to sink in.
Don’t let the balls sit out too long before dipping because they can start to sweat and it will make it hard for the chocolate to stick.
Do not freeze for more than 30 minutes prior to dipping. Place in the refrigerator if not ready to dip.
