
INSTRUCTIONS:
Step 1: Building the Foundation with a Graham Cracker Crust
Mix graham cracker crumbs, melted butter, and sugar until they form a texture resembling damp sand.
Press this mixture firmly into the bottom of a 9×13-inch baking dish to create a delectable crust. Pop it into the fridge to chill while you work on the next layer.
Step 2: Whipping Up the Creamy Cheesecake Layer
Beat softened cream cheese until smooth and creamy in a large mixing bowl.
Gradually add powdered sugar and vanilla extract, blending until fluffy.
Gently fold in the whipped topping until everything is beautifully combined.
Step 3: Layering Goodness and Flavor
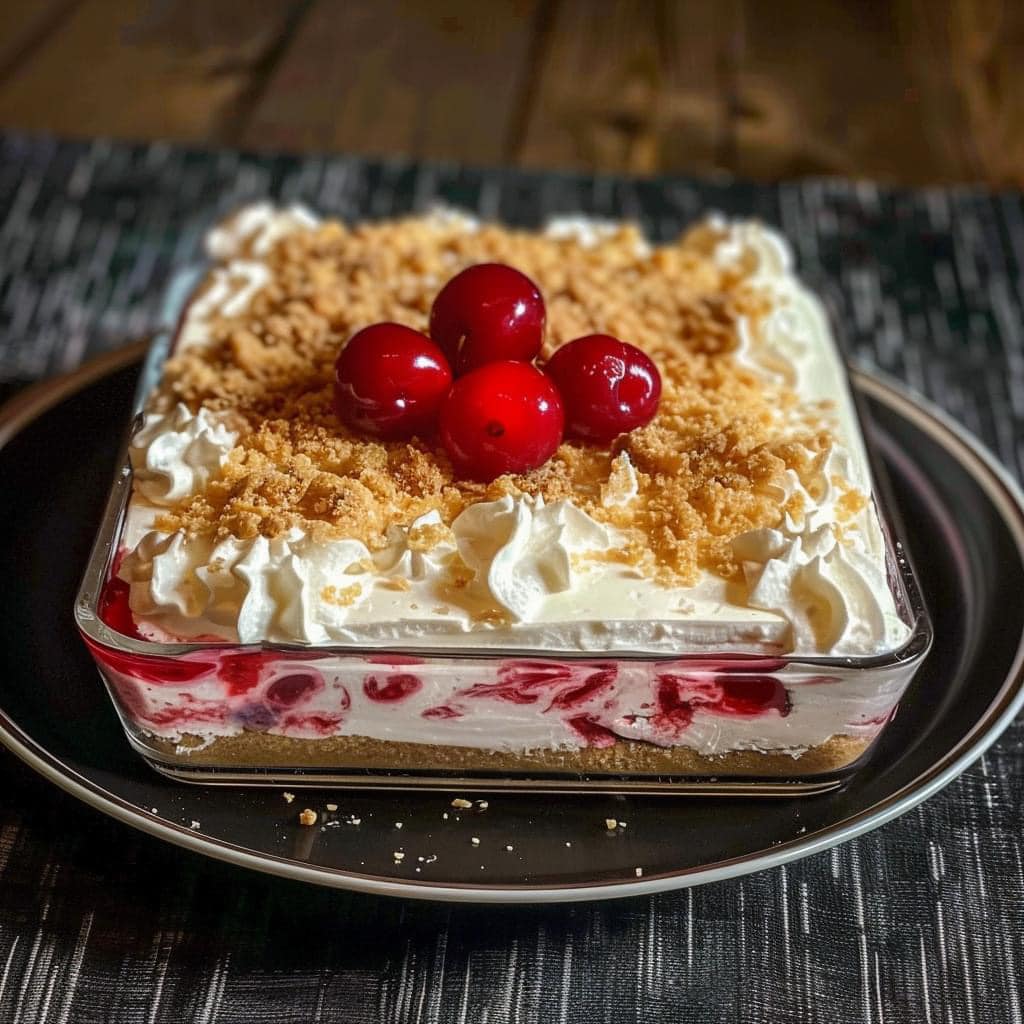
Spread your creamy cheesecake mixture evenly over the chilled graham cracker crust, ensuring a smooth surface.
Now, it’s time for the star of the show—spoon the cherry pie filling over the cheesecake layer, spreading it out lovingly to cover every inch.
Step 4: Chilling, Anticipation, and Indulgence
Place your masterpiece in the refrigerator for at least 4 hours, or better yet, overnight. This allows the layers to set and the flavors to mingle, creating pure dessert magic.
When the time comes to serve, cut into squares or rectangles, and let each bite carry you to dessert paradise.
Tips for a Sweet Success:
Softened cream cheese makes for easier mixing and a smoother cheesecake layer.
Feel free to experiment with different pie fillings like blueberry, strawberry, or even a mix for playful flavor twists.
Leftovers (if any!) can be stored in the fridge, covered, for a few days—though it’s unlikely they’ll last that long!