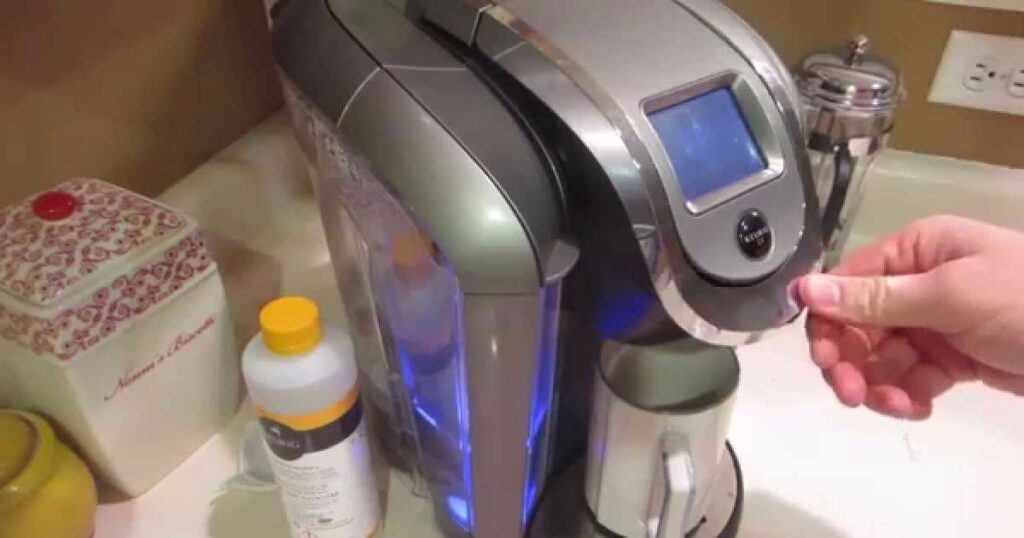
Almost everyone who owns a Keurig swears by it. But, just as many people probably have no idea how to clean it.
We rely on these machines every day, often multiple times a day. And over time, the water reservoir accumulates buildup, as do the pipes and tubes. Keurig suggests that you clean — or descale as they call it — every 3 to 6 months to keep it running smoothly. The buildup isn’t bad for you, but it will eventually ruin your Keurig if you don’t take care of it.
We’ve combined the recommended steps from the manufacturer here to ensure you clean your machine properly, as well as a few alternative tips from experts and fellow Keurig users. Here are the 10 tips you need to know!
LOOSEN ANY DEBRIS
If your Keurig doesn’t seem to be working as well as it used too, Housewife How To’s says you might need to perform some extra steps before you get started on the cleaning process. If your Keurig seems to be working fine but obviously just needs to be cleaned, you can skip these first two steps.
1. The needles that pierce the Keurig coffee cup might need to be changed. Luckily, these can also be cleaned. Simply grab and unbend a paperclip, then open the top of the Keurig and insert the end of the paper clip into the holes. Move the paperclip around to loosen any debris and clear up the channel that delivers water to the coffee pods.
Please Head On keep on Reading (>)

